Depth of Field

All photographers know that if you want to make your photo stand out, you need to have a way to draw the viewer’s eye to what you want them to see. Depth of field is one way to do this and add a professional element to our photography. The trick is knowing how and when to use it. So what is Depth of Field?
Depth of Field
According to Lightstalking, depth of field is the “portion of a scene that appears acceptably sharp in the image. Although a lens can precisely focus at only one distance, the decrease in sharpness is gradual on each side of the focused distance, so that within the DOF, the unsharpness is imperceptible under normal viewing conditions.”
Depth of field is the place in an image that is in focus, and how much of the image around that point appears as though it is in focus. It is a way for us to translate how much of an image we want to be visibly sharp and how much we want to be blurry (an effect known as ‘bokeh’).
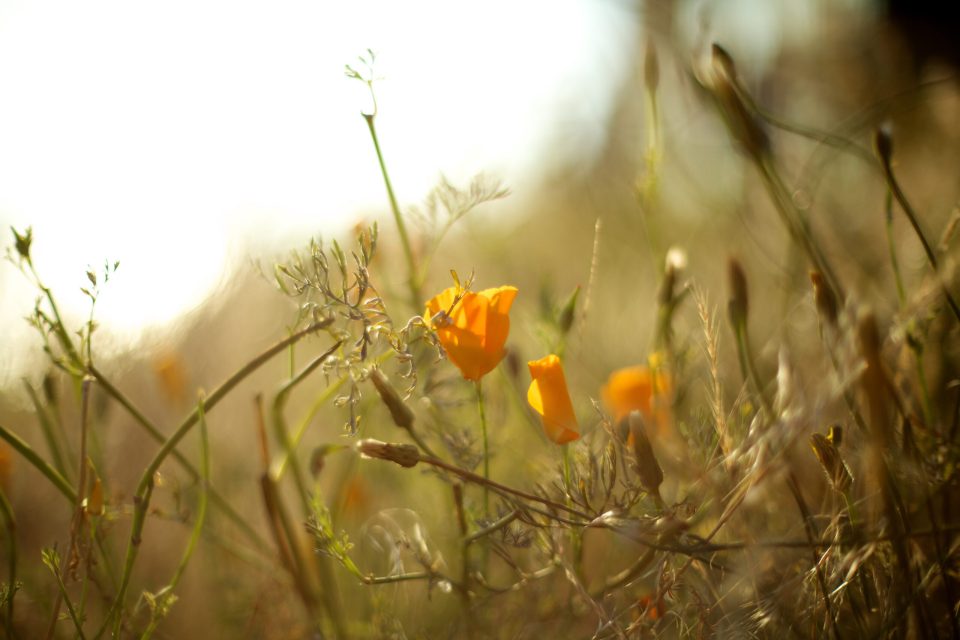
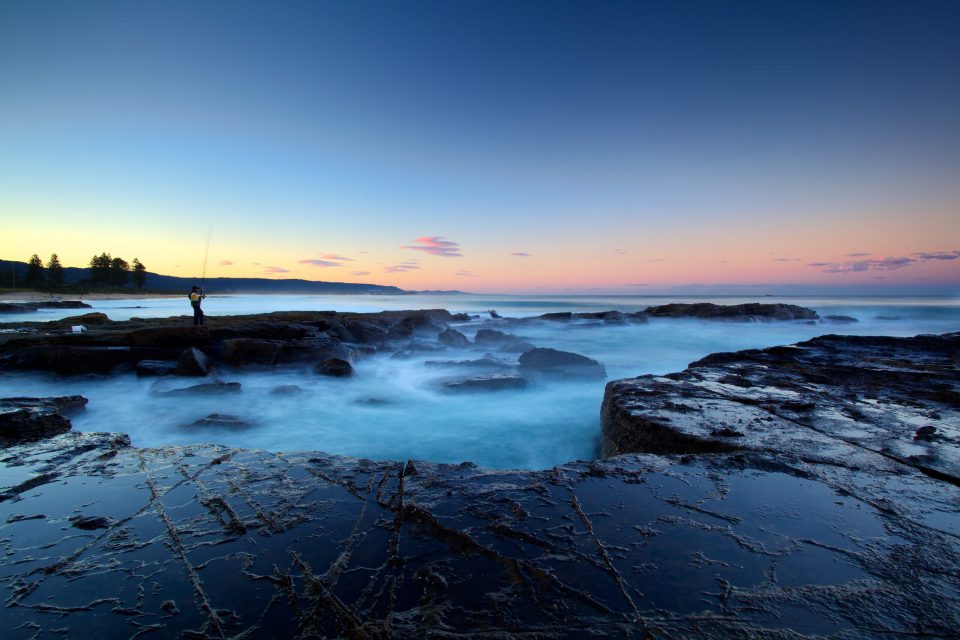
Below are two images; one is entirely sharply focused , and the other is only sharp in some areas. The first image has a small depth of field, so only a portion is clearly sharp. The second image with the fisherman has a large depth of field. But how can a camera produce these visibly noticeable differences in imagery?


Lens choice
Some lenses have the ability to produce a wider range of depth of field in your images than others. Not all are created equal.Choosing the correct lens is the best way to produce the desired depth of field.
A lens determines the depth of field through a value called an f-stop. Your f-stop on a lens is a number associated with how much light is let through the aperture (the opening in the lens) to the camera. The lower the number, the more light that comes into the camera and the smaller the DOF will be (fairly blurry). The greater the number, the more the image will be in focus and the less light will be let into the camera. The f-stop number on a lens can range from 1.2 – 22 but most lenses range from around 3.5 – 22. The lenses with the nice blurring typically have a range starting between 1.2 – 2.8.
To create a nice image with blurriness in the right places you want a lens with a small f-stop number. Most of these lenses don’t have zoom and are only at one perspective (prime lenses) ).
The benefit of not having zoom is that they are incredibly sharp. Many photographers choose prime lenses for portrait photography, and almost every movie is shot with a selection of prime lenses. This image below shows the difference in how much light enters the camera at different f-stops and how the image is affected.

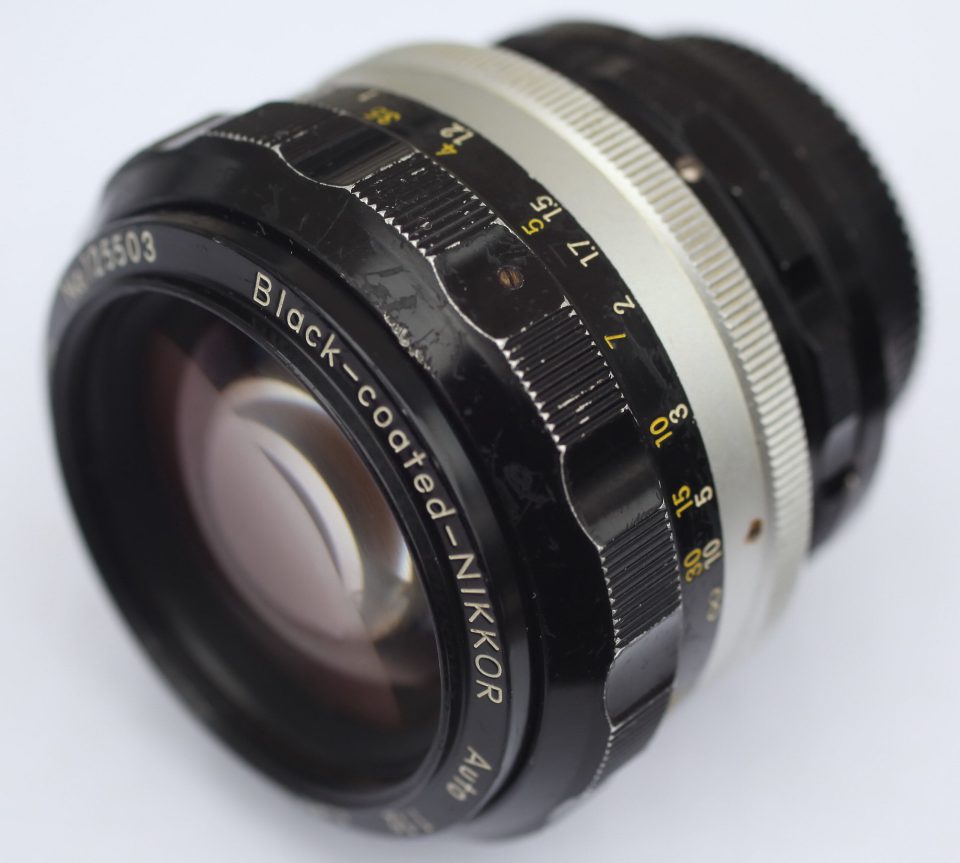
The problem with prime lenses is that they are more expensive. Every major camera brand has a selection of prime lenses so you can easily find a lens to do the job. Now that we have discovered that a prime lens with a small f-stop number produces nice blurring, how do we determine the quality? This is where art comes into play; people varying opinions on how pleasing the blurriness (bokeh) of the image is. Cheap lenses, while blurry, might be grainy and not very pleasing to the eye; meanwhile, old lenses might make the background look painted and very pleasing to the eye. Finding the right look depends on what you are trying to achieve and how you interpret your images. Personally, I love old lenses from the 60’s. They produce amazing sharp images, can be found on eBay for a reasonable price, have a great, creamy bokeh and can be adapted to use with most modern cameras. I use these lenses every week with my RED scarlet and my Canon 5D. The results are amazing and visually pleasing.

This is what an old lens from the 60’s looks like.
My favourite lenses are prime lenses and range from 28mm – 85mm .They all have a small f-stop number. I have used these lenses on almost every set that I have been on, and they have produced key images for many of our campaigns. While there are more expensive lenses on the market and some with more modern features, I feel that my chosen lenses allow me to tell the story better. I love the images they produce, and they feel authentic in their final output. They are great to use and teach you a lot about light and how your camera works. One thing I first did when learning photography was to use only my 55mm f1.2 lens for an entire month. I forced myself to learn how to focus it, frame the image with it, and produce a result that told the story of what my eyes were seeing. Ultimately, the lens is a tool that we use to tell our story the best.
One of the great benefits in video is that we can rack focus from something in the background to something in the foreground. This allows us to create an experience with the viewer. The viewer follows the area in focus so we can draw their attention to what we – as the filmmaker – want to highlight.
We use these techniques everyday at nucleo. Our photography gains great value by understanding depth of field, how to vary it and when to apply it. We love telling stories with visuals that are unique to your story.